Laser Profiling
Accurately measure wall loss, gain, geometric deformations and structural anomalies
Laser profiling in pipes is needed when video alone cannot clearly identify deflection, wall loss, or diameter change. The human eye, while a great comparator, is not a very good measuring instrument. Laser, on the other hand, is a great way to deliver pinpoint accuracy.
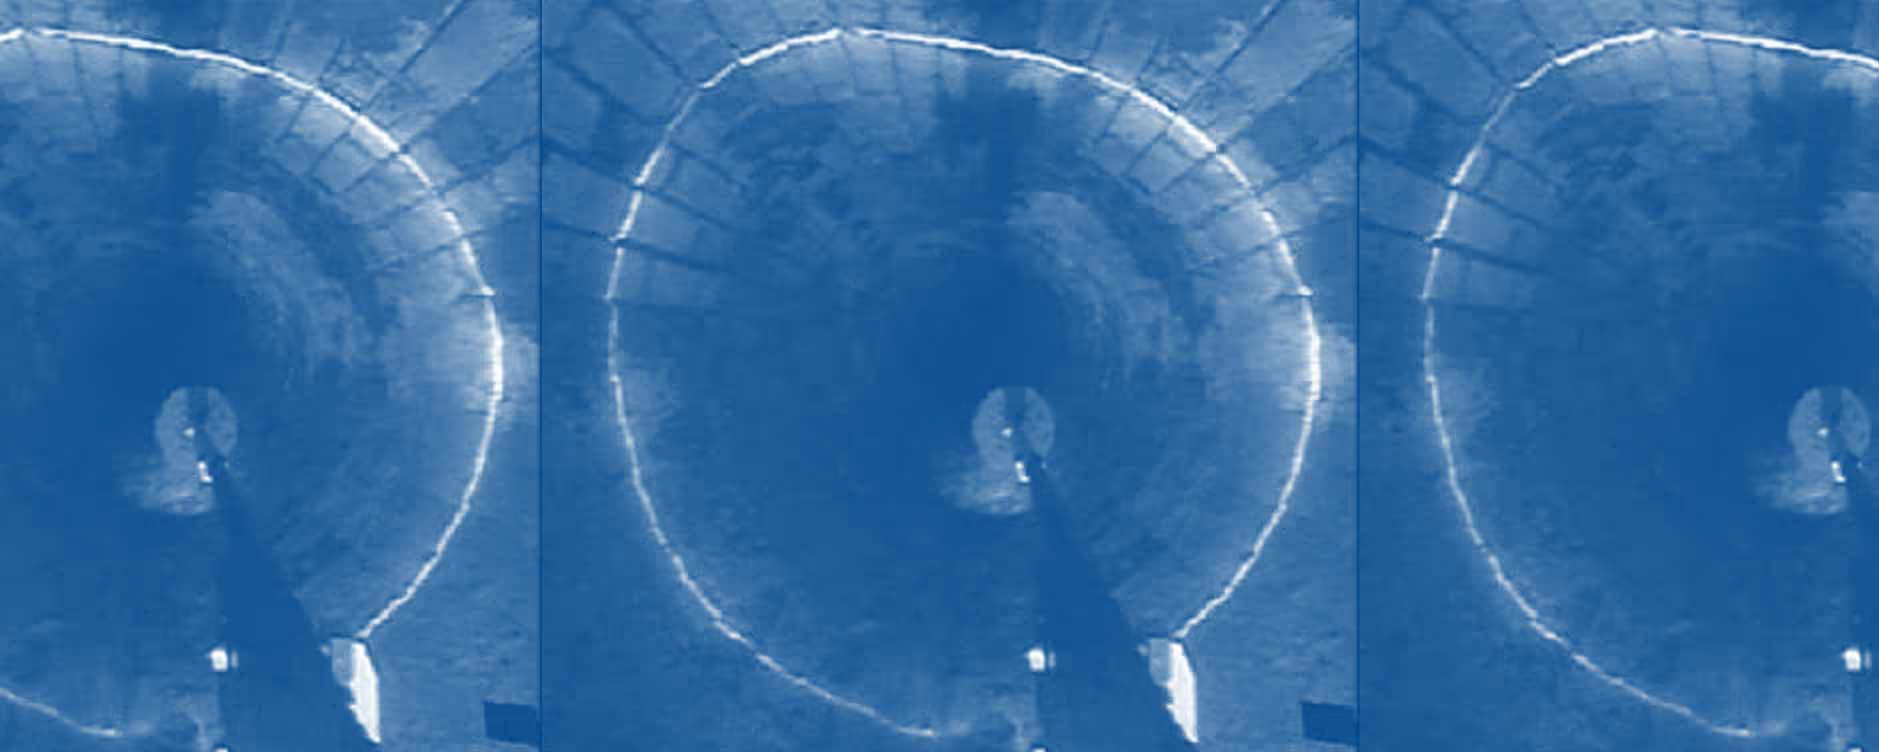
For laser profiling, AIMS uses a 2D laser to project a light ring into the pipe. The Closed-Circuit TV (CCTV) camera captures the image of the laser inside the pipe and then special software is used to interpret the image and create graphs and color-coded flat images as if the pipe was split and laid flat. Error tolerance is typically near .08 inches, even in large pipes.
Our laser profiling service easily measures displacement where pipes are cracked or broken, deflection or loss of ovality, wall loss or gain, remaining wall thickness and what size liner or tool can pass through the pipe. Processing data uses the nominal or expected interior diameter of the pipe, so it can show changes in the radius, rather than across the diameter only.
This tool is invaluable in determining if enough pipe wall remains for rehabilitation and what type of rehabilitation will work best. If the integrity of the pipe structure has not been sacrificed, a much thinner liner may be used, resulting in significant savings. Laser profiling can also identify if a pipe exhibits compromised design, which might lead to a collapse or failure.
The speed at which a line is deteriorating can also be calculated using Time Lapse Patterning which compares a current inspection to a previous inspection.
Subservices
Applications
Request a quote
Certified


